Friday, February 27, 2015

Just Add Ink #252 - Baby, We've Grown


The challenge this week over at Just Add Ink, Kim has created a fantastic sketch for us.


At the start of the month I became an Aunty again for the 12th time. My husbands brother and his wife welcomed their 5th child into the world, a little boy! So this card is for them!


I haven't had any cuddles yet due to them living interstate but we are catching up with them for a 'Blok' family holiday very soon so there will definitely be lots and lots of cuddles then!


I used the stamp set 'Baby' We've Grown' and stamped it onto watercolour paper with Stazon ink and then picked up the ink from the lid of the ink pad with an aqua painter and coloured the images in.


The sentiment actually said 'Sweet Baby' which is cute but I wanted it to say 'Hello Baby'. Before I stamped the sentiment I covered over the word 'Sweet' with washi tape, inked up the sentiment, removed the washi tape and then stamped the word baby and also coloured that in using an aqua painter.

Come and see what the rest of the Just Add Ink Design Team have created here, see their take on this awesome sketch and join in the fun!


Built for Free Using: My Stampin Blog

Friday, February 20, 2015

Just Add Ink 251 - Just Add Thanks

 For those that know me quite well you would know that I'm a pretty active person. I go to the gym 4 -5 times a week and I play indoor netball once, sometimes twice a week.

This year the lovely lady who has been organising our netball team for the last 5 years  (I think its been 5 years) has decided to finish up with the team and move on to other things.

With the challenge at Just Add Ink this week being Just Add Thanks, I thought it was only fitting to make this card for her and thank her for all the effort she put in to organising the team each week and for her husband who came and scored for us each week.
 I really wanted to put flowers on it some how so they would have some flowers that would never die and the Love is Kindness stamp is perfect for that! I used the new Pink Pirouette Blendabilites to colour the tulip heads. I love the soft colour they give and they look so pretty!


The stamp does have a sentiment on it but it didn't fit in with the 'Thanks' theme. So before I inked up the stamp I covered the sentiment with washi tape, inked up the stamp, removed the washi tape and then I could just get the flowers stamped not the sentiment as well.

So the whole team signed the card and it was given with a gift as well to show that we really apprecitated all the effort they did for us.
We would love for you to join us with this sketch challenge.  Head over to Just Add Ink and take a look at the fabulous inspiration from the Design Team.


Built for Free Using: My Stampin Blog

Monday, February 16, 2015

Stamp Review Crew: Wondrous Wreath Edition

http://stampreviewcrew.blogspot.com/2015/02/stamp-review-crew-wondrous-wreath.html

 It's the third Monday of the month so that means it's time for another Stamp Review Crew Blog Hop. This hop we are focusing on the Wondrous Wreath Stamp set. This set also has a co-ordinating Framelit set - Wonderful Wreath Framelit Set, so no fussy cutting. WOOHOO! Got to love that!

If you are following round on the hop, I'm #2 on the hop. You may have joined me from the wonderful Jennifer Timko. Isn't she clever! If you get lost on the hop click on the banner at the top of this post and this will give you the list of all the 'hoppers' in The Stamp Review Crew.


This stamp set was released last year in the Holiday Catalogue and is one of the stamp sets that was carried over to the new Occasions Catalogue. YAY! So it is still available to purchase!
It really is a stunning stamp set and has a real Christmas/Holiday feel to it. It took me a while to try and think of how to use this set in a non-Christmas way and I think I got it.


I originally started our by stamping the wreath on Wild Wasabi cardstock, and then I was going to heat and stick the spots with gold glitter, and then that wasn't working so was then going to gold emboss the spots with gold embossing powder and then that wasn't working and then I was nearly ready to tear my hair out cause nothing seemed to be working! Arrg!

I then decided to get rid of the spots image all together, stamp the wreath on whisper white and use other Stampin' Up! products to give a bit of a gold accent.

I punched out a few of the Pansy Punch and scrolled them and then  layered them together make the 'roses'. Sponged them with Blushing Bride ink and then layered a few of the flowers from the Itty Bitty Accents Punch Pack to finish off the rest of the flowers on the wreath.

Tip - Did you know that if you colour the Basic Pearls with the Dark Daffodil Delight Blenabilities marker they look 'gold'?

Click on the 'Next Blog" button below to hop on to Linda Callahan from Stampin' Seasons and see what she has done with the Wondrous Wreath stamp set.
Thanks for looking and don't forget to leave a comment! I love to know what you think of my creations! 
http://stampinseasons.blogspot.com/2015/01/the-stamp-review-crew-wondrous-wreath.html
http://stampinonthefly.com/2015/02/stamp-review-crew-wondrous-wreath
Built for Free Using: My Stampin Blog

Friday, February 13, 2015

Just Add Ink 250 - Just Add Inspiration


This week at Just Add Ink we have an inspiration picture for you - and you choose whatever inspires you from that picture. It might be the colours, the hearts, the spots, anything that jumps out at you.
Here is the pic for this week


Perfect to inspire you for one last creation for Valentine's Day. Can you feel the love?

Here is my interpretation on what jumped out at me from this cute pic.


I love the way it turned out. Punched the hearts out using the Heart Border Punch out of Rose Red cardstock and then I glued each one individually down onto the Blushing Bride panel! I then used the left over strips of hearts that you get after punching and used that as a guide to get the hearts straight.  The hearts took a while to glue them all on but they look stunning! Well I think they do. 

Perfect for Valentine's Day!

Make sure you check out the rest of the Just Add Ink Design Team and all their interpretations on this picture! We love to see what you make so don't forget to link up your project over at Just Add Ink!


Built for Free Using: My Stampin Blog

Tuesday, February 10, 2015

Party Time - Warragul


 Over the weekend we had the state Stampin' Up! Party Time event. It was a great day for demonstrators from all over Victoria to get together, have some fun, business tips, prize patrol and of course see some stamping. 

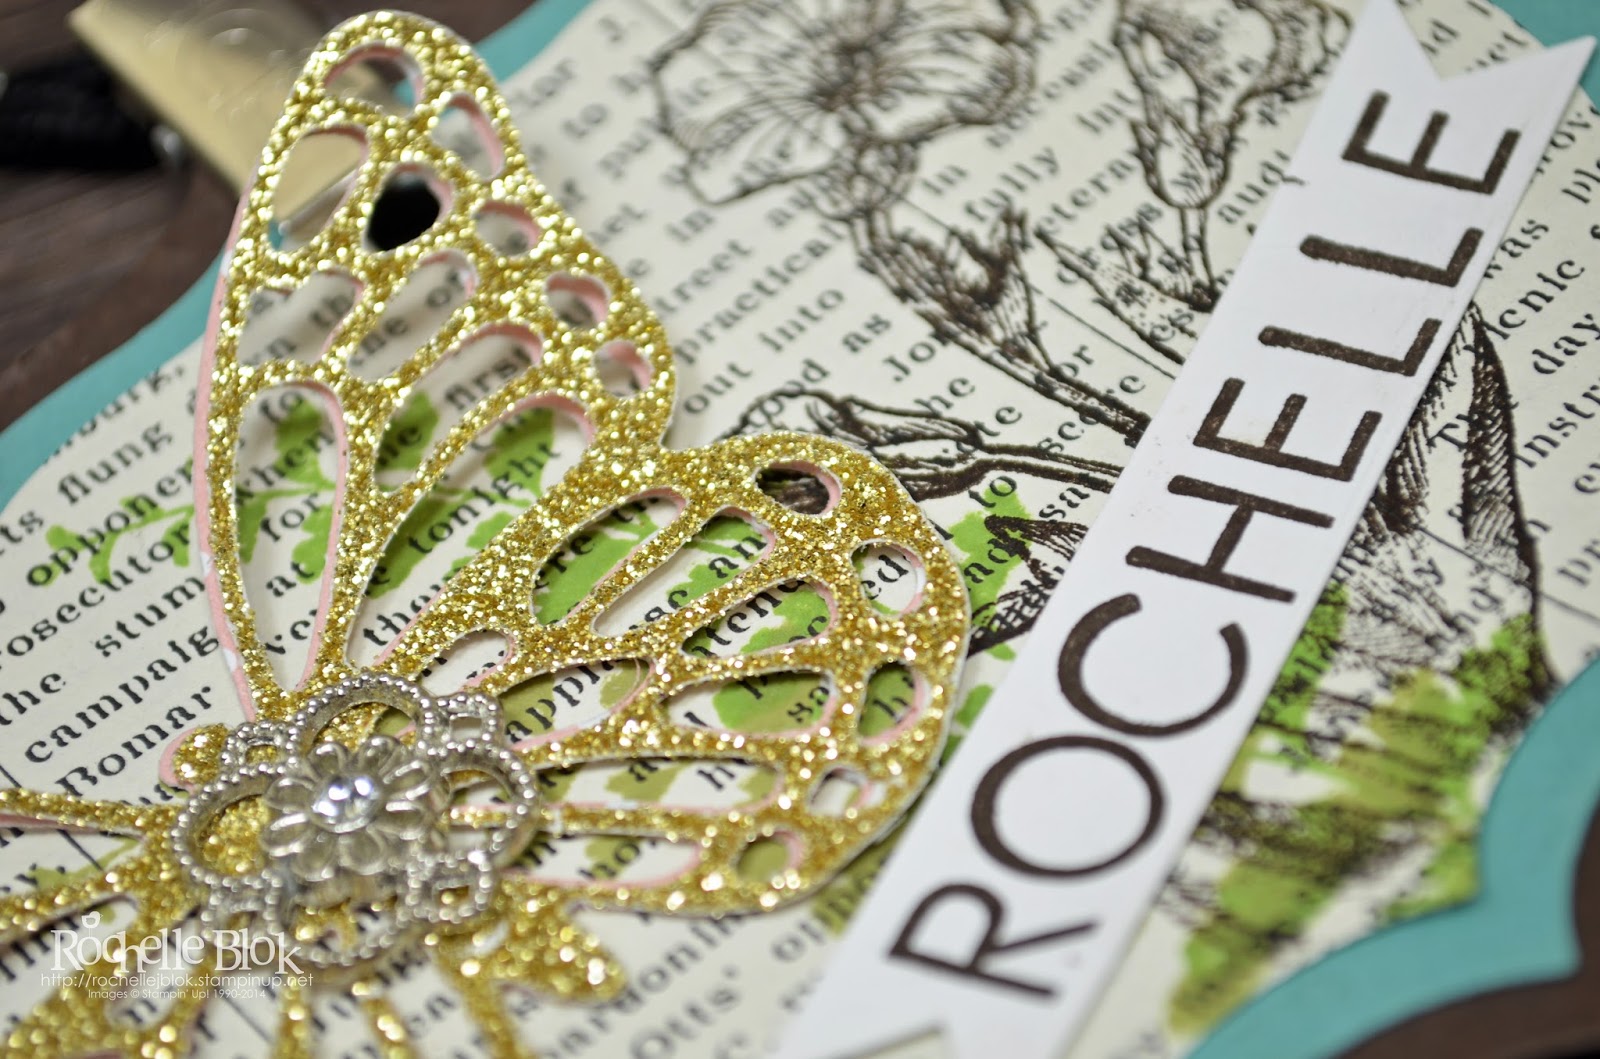
For this event we had to make our own name tag. Please bear in mind that I took the photos after the event and it was looking a little worse for wear.

I used the Butterfly Basics stamp set and the co-ordinating thinlits. Of course the butterflies had to be cut out in Gold Glimmer paper! 

I stamped my name using the Back to Basics Alphabet stamp set.

I just love how sparkly the butterfly looks in the Gold Glimmer paper. Too pretty!

Click on the pictures at the below to see all the products used.

At the event at Warragul there was a photo booth with some fun dress-ups. So I had a photo with my Stampin' Sisters and my upline, Liv.
We took a 'normal' one first...
L to R; Laura, Me, Lynne, Liv 

And a fun one ...


It was so hard to breath with the nose on! LOL!
And I've only just realised I've got my eyes close. Nooooo! :(
We also had a chance to do some make and takes and this was one of them for the day.
I really love the way the flower turned out being coloured with the Rich Razzleberry Blendabilites. Will definitely be trying that again!

It was a fun day out and I got a few tips and ideas that I can't wait to implement in my classes and workshops.


Built for Free Using: My Stampin Blog

Friday, February 6, 2015

Just Add Ink 249 - Just Add Sketch


This weeks challenge over at Just Add Ink is a sketch challenge. Our sketch has been designed by Tina.

Pretty much as soon as I saw this sketch I knew I wanted to do some gold on gold embossing using the stamp Something Lacy from the Occasions Catalogue. It turned out so pretty!


I do love the gold embossing on the gold foil sheets. It really has an elegant look about it.
This card went to a good friend of mine who celebrated her birthday at the end of last month! Now she is older than me again...till June! 


All finished off with some Crochet Trim and 1/8" Gold Ribbon.

We would love for you to join us with this sketch challenge.  Head over to Just Add Ink and take a look at the fabulous inspiration from the Design Team.

Thanks for stopping by!

Built for Free Using: My Stampin Blog

Monday, February 2, 2015

Stamp Review Crew: Celebrate Today Edition

http://stampreviewcrew.blogspot.com/2015/02/stamp-review-crew-celebrate-today.html


Welcome to the first hop of February for the Stamp Review Crew. I hope you enjoyed the last hop were we had a bit of a Valentine's Day free for all and got some ideas for your loved ones. 

We are now back to showcasing a single stamp set and this hop is using the fabulous and most gorgeous set Celebrate today which also has co-ordinating Framelits! Loving the Stampin' Up! co-ordination! They do it so very well!

If you are following round on the hop, I'm #2 on the hop. You may have joined me from the fantastic Kerry Willard Bray. Hasn't she got some great ideas! If you get lost on the hop click on the banner at the top of this post and this will give you the list of all the 'hoppers' in The Stamp Review Crew.

Here is the card that I made using the Celebrate Today Stamp Set.

I wanted to make it look like the balloon was floating off into the sky. So I sponged the 'sky' with Soft Sky and the 'grass' with Pear Pizzazz to create the scene. The flowers come from the Sheltering Tree stamp set and the just finish of the 'grass' so nicely. Makes it look like a spring meadow.


To sponge the clouds punch out 3 of the 1-3/4" Scallop Circle out of thicker cardstock or the cardboard that comes in the DSP packs. Adhere the 3 of them together so they are slightly overlapping each other and then use a Stamping Sponge to sponge the edges of the scallops. Make sure that you move the scallops around to make it look a little more random.

Click on the 'Next Blog" button below to hop on to Martha Inchley from Inch of Creativity and see what she has done with the Celebrate Today stamp set.

Thanks for looking and don't forget to leave a comment! I love to know what you think of my creations!

http://www.inchofcreativity.com/2015/02/stamp-review-crew-celebrate-today.html


http://www.peoniesandpaperchains.com/2015/02/stamp-review-crew-celebrate-today.html

Built for Free Using: My Stampin Blog