Tuesday, October 14, 2014

Bright and Beautiful Star Box

My card making classes that I hold each month have been very Chrismassy of late! Lots of cards, lots of gift tags and lots of gift box ideas. My class people shouldn't be stuck for an idea for their cards and gift boxes this year that's for sure!

I my class last week I showed my ladies how to make a star box with a lid.
 
 
Stampin' Up! do have a You Tube clip on how to make these beautiful boxes but theirs is fully enclosed and more for decoration than anything else.
 
In one of the blogs that I follow there was a You Tube Clip on how to make this beautiful box with a lid. Click here to see this clip. And it's really not that hard to do.
 
The box uses the Star Framelits and then you can decorate it to how you want.
 
 
I made mine with the 12'x12" Kraft cardstock and then decorated the top of the box with the beautiful Bright and Beautiful stamp set and embossed it in gold embossing powder.
 
 
I used the stunning Cherry Cobbler 1" Sheer Linen Ribbon to tie around the box.
And then finished the box off with a tag stamped from the Cheerful Tags Stamp set and co-ordinating Note Tag Punch, a bit of the Gold Metallic Bakers Twine and a little strand of the Gold Sequins.
 
So Pretty.
 
 
Perfect for a little gift or a box full of chocolates!
 
Thanks for Looking!
Have Fun and Happy Stampin'
 
 
Shop Online
Click on the images below to order the products used from my online store.


Tuesday, October 7, 2014

Stampin' Up! Project Life - 5 days in here!

I'm really loving the Project Life by Stampin' Up!. I've only just started but I'm hooked all the way!

Last week I showed you my very first PL page. This week's page is the other side to the layout.


Here are some of the cards I used to finish off my page. 
 
For this card I layered one of the square cards on one of the 4"x6" cards and then embellished it with some letter stickers, acetate accents, wood accents and stickers from the Everyday Adventure Project Life Accessory Pack. The words 'in here' were stamped with the Back to Basics alphabet photopolymer stamp set.
 
 
This card I trimmed down and layered it on some Basic Black cardstock and then finished it off with some acetate accents and some Brights Candy Dots.
 
 
This card already had the heart cut out of it, which I really love! It's a bit hard to see but I stuck a piece of the Stampin' Up! window sheet behind the heart cut out and then layered a few of the acetate accents on the window sheet. Really love the 'see through' look of this card.
 
 
This last card finished off the page with some journaling. The green hexagon card had a white section on the card that I didn't really like so I trimmed down the 3" x 4" card, layered it on some Basic Black card stock and then stuck that over the white section to 'create' my own card. All finished off with some of the co-ordinating washi tape and some sticker accents from the Everyday Adventure Accessory pack.
 
Can't wait to show you some more Project Life pages for my album.
 
Thanks for Looking!
Have fun and Happy Stampin'

 
Shop Online
Click on the images below to order the products used from my online store.
  

Wednesday, October 1, 2014

First Project Life Page

This year with the release of the new Annual Catalogue, Stampin' Up! teamed up with the creator of Project Life Becky Higgins and brought out their own line of awesome Project Life products.
 
I originally started my scrapbook albums with traditional scrapbooking but after a while I found that creating just one page was taking far too long and I was never going to get my photos in in albums.
 
My daughter is now six but in her album I've only done the photos up to when she was one month old so one could say that I'm a little behind in my albums.
 
I really love the idea of Project Life and how quick and easy you can make it. Put your photos in, embellish your cards, pop them in and then page done!  Simple as that!
 
So here goes for my very first Project Life Page.


My upline, Liv Ingle, held a Project Life team training night last week with her best friend, Lauren (check out here blog here) lead the class. Lauren has been doing Project Life now for a few years and gave us lots of hint, tips and cleaver ideas to do our own Project Life Pages.
 
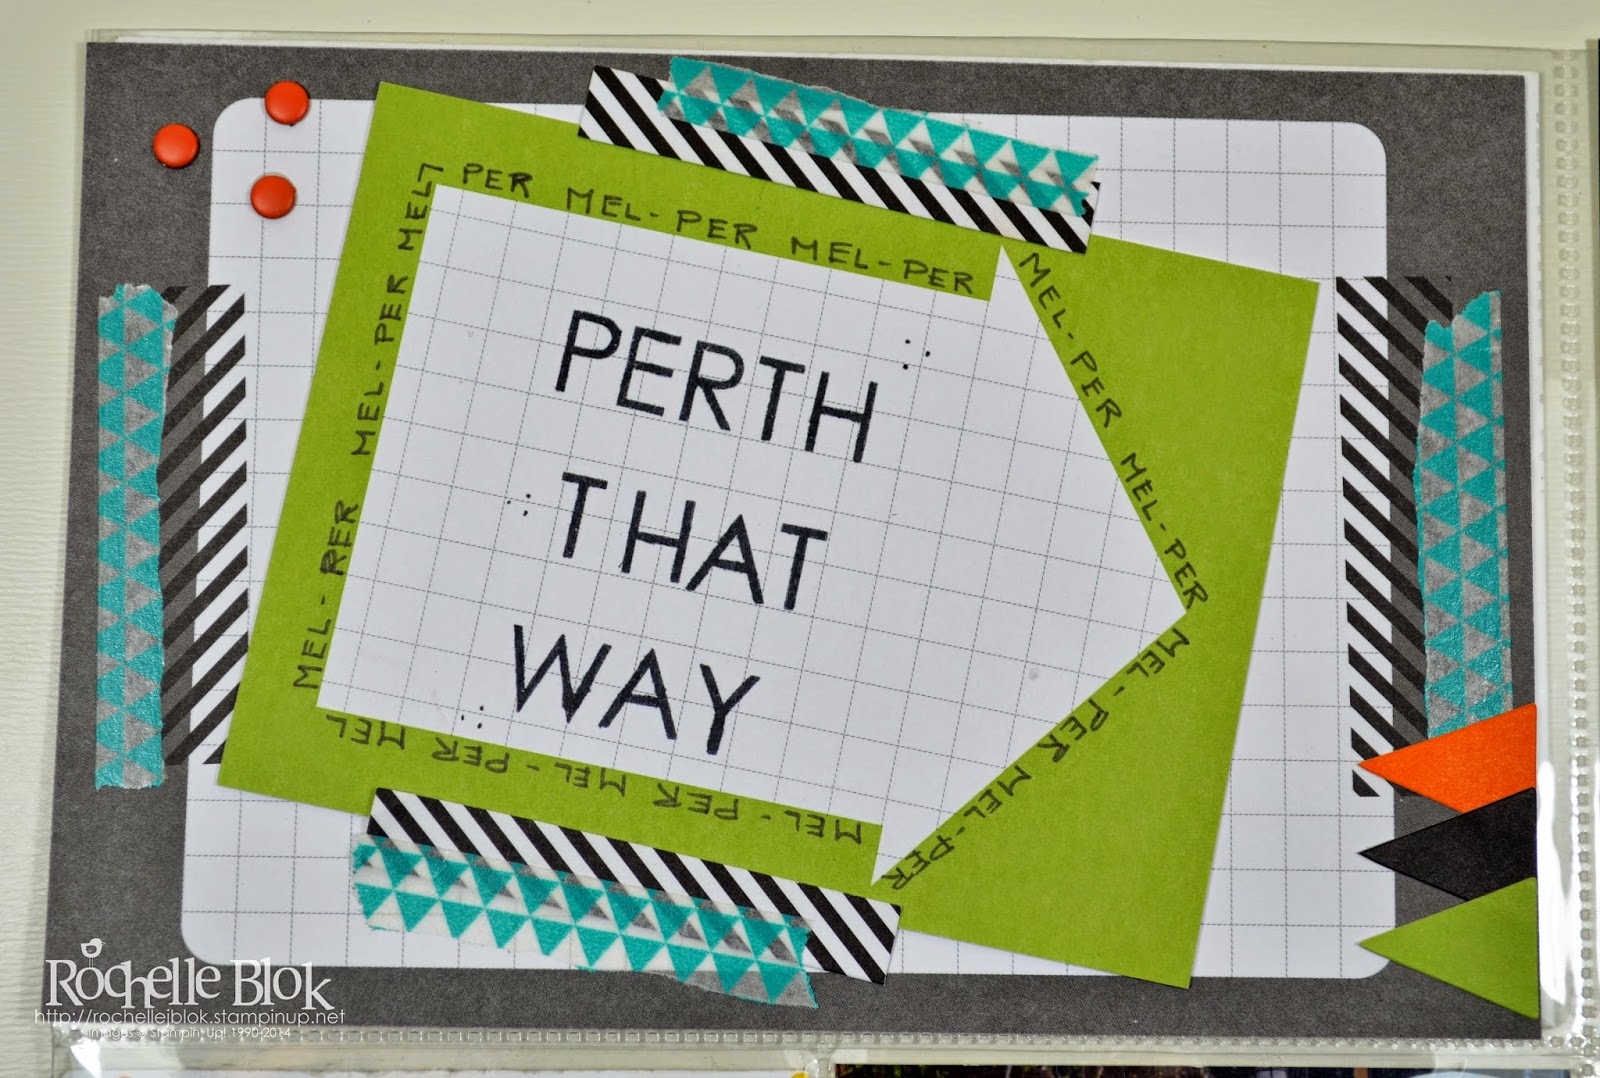
My first Project Life Album is going to be of a trip that my husband and I and our kids took a few summers ago when we drove, yes drove, the very long way from Melbourne to Perth back to Melbourne again all in the space of 4 weeks! Let me just say it was LOTS of driving!


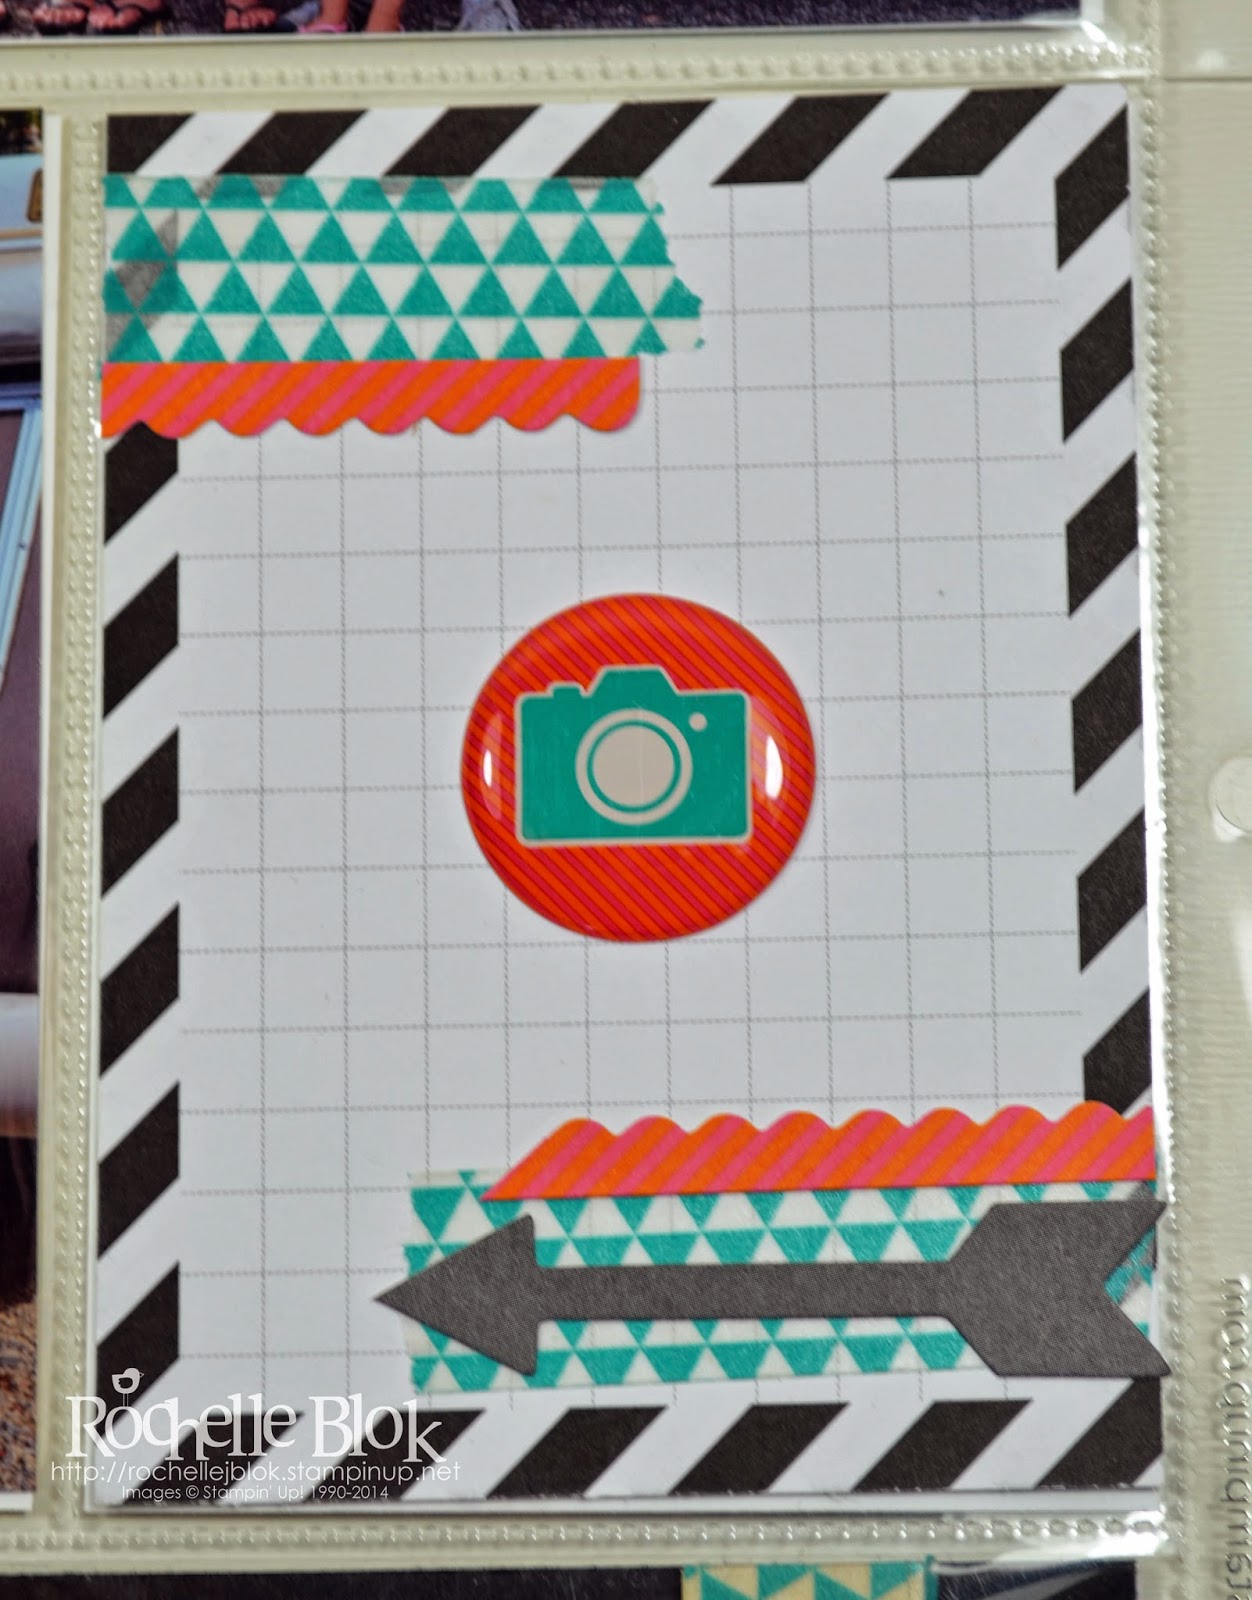
I used the Everyday Adventure Project Life Card Collection and embellished them with the Everyday Adventure Project Life Accessory Pack.
 
 
Each card collection has 100 double-sided cards to choose from and the accessory pack comes with co-ordinating Washi Tape, Stickers, Wood Accents and paper clips so there is lots to choose from to embellish your photos and PL cards.
 
 
Oops! I made a spelling mistake on the first page. Grr! So that's my first page and I'm so looking forward to finishing the album. Thanks Liv for the team training night and thanks Lauren for showing me where to start! I think I'm hooked!


Shop Online
Click on the images below to order they products used from my online store.